2
Before putting a few parts in the back of the ship (stern) it´s necessary to paint and make the appropriate effects, as well as placing two vessels as shown in figures 5 and 6, as it is impossible to put them after the sides are glued. In Figures 11 and 12 viewed from the sides.
It is important to follow the assembly instructions to the letter and check that everything was put before finalizing each stage described in the instructions.

Before gluing the sides definitely I did a test fit to see if there was anything out of place and all the details were installed.
In figures 7 and 8 we can see the painted bow deck and in figures 9 and 10 the stern deck, with all of the appropriate painting effects but without a lot of detail, such as the anchor chains, which will only be placed when the remainder of the hull is finished.


赤城
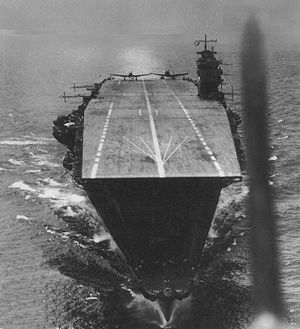
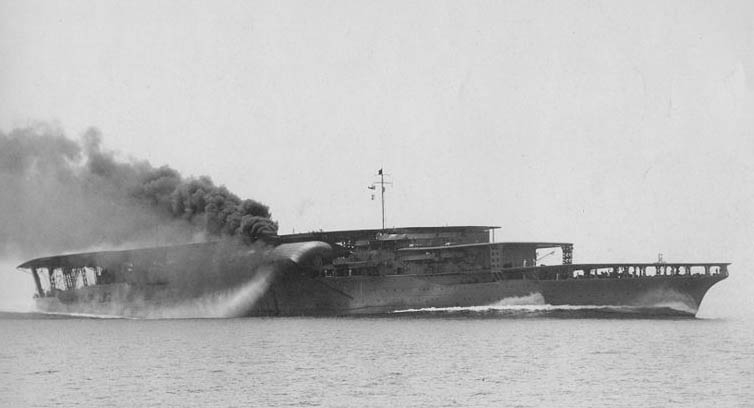
Japanese aircraft carrier Akagi
Stage 1 - Assembling the Hull
This is the stage where all the elements present on the ship´s sides (anti-aircraft guns, various types of boats, small boats, motor boats, etc., must be assembled separately, glued and painted with the appropriate wear and tear, shading and weathering effects common to any military vessel in continuous use.
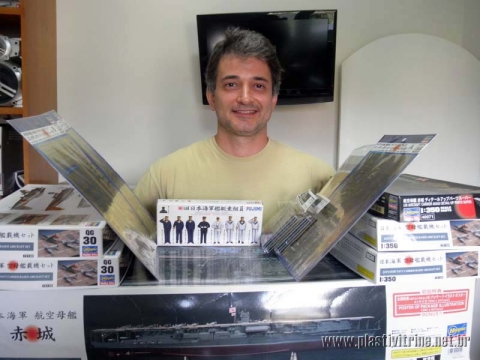
It was necessary to mount a few barges and boats prior to placement in certain phases of the assembly as described previously and to test some painting techniques and effects to be used on the aircraft carrier as a whole, reminding again my total lack of experience in assembling ships.
In Figure 16 one can see a boat just painted in gray, the prevalent color throughout the vessel above and the same finished below.

VISITE NOSSAS GALERIAS !!!

A ARTE DO PLASTIMODELISMO


Aircraft - Propeller

