Continuing ...
It is important to do this finish next, because hundreds of photoetched details will be put in place which could be damaged with handling or sanding.
Usually I apply super bonder on all the seams, as shown in figure 17. I start the sanding process with a 400 grade sandpaper, then with the 600 grade and for the minor imperfections I apply Mr. Surfacer 1000 with a brush. Again I sand everything this time with the 1000 grade sandpaper followed by the 1200 for the final finish.
In Figure 18 the carrier with the support only attached but not glued to facilitate handling during assembly.
After the sanding was completed, I applied white acrylic automotive paint that after it dries shows any remaining imperfections.
Sanded again, this time with a 1200 sandpaper as seen in figure 32.
With all the imperfections removed and with a satisfactory finish, it was finally painted SC02 gray (Sasebo Naval Arsenal Color). There is a set of colors designed specifically for use on Japanese ships by Mr. Hobby, but I particularly prefer to make these paints myself, as I like to work with automotive paint. I also mixed paints to get to the Linoleum Deck color and Cocoa Brown for the lower part of the hull.
With the gray applied, the hull was completely masked with Tamiya tape 8 mm thick, as shown in figure 33.I also used some Parafilm "M" mask under the Tamiya tape to seal any chance of the Cocoa Brown paint spill into the painted gray.
Soon after, without removing the Tamiya tape, I applied all the effects with the airbrush mixing red with black diluted with retardant. To assist in this work I cut and held into the model strips of paper to enhance and weather the hull´s steel plates.
3
赤城
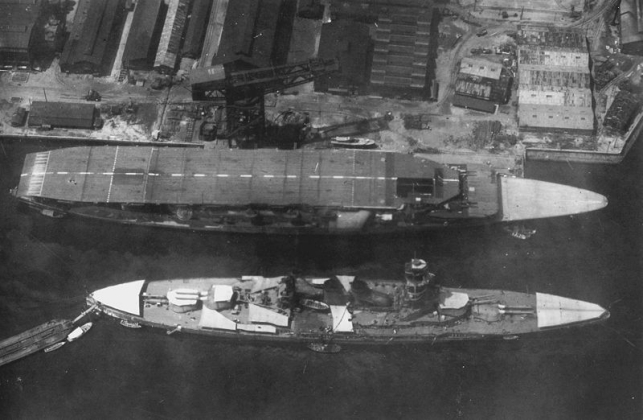
Japanese aircraft carrier Akagi
As I'm still in the early stages of the assembly and before proceeding with this article, I will show the completed model built by Hasegawa so everyone can get a glimpse how my work should look once completed.

VISITE NOSSAS GALERIAS !!!

A ARTE DO PLASTIMODELISMO


Aircraft - Propeller

